How to Manually Upload Photos on Memory Card Using Card Reader to Google Photos
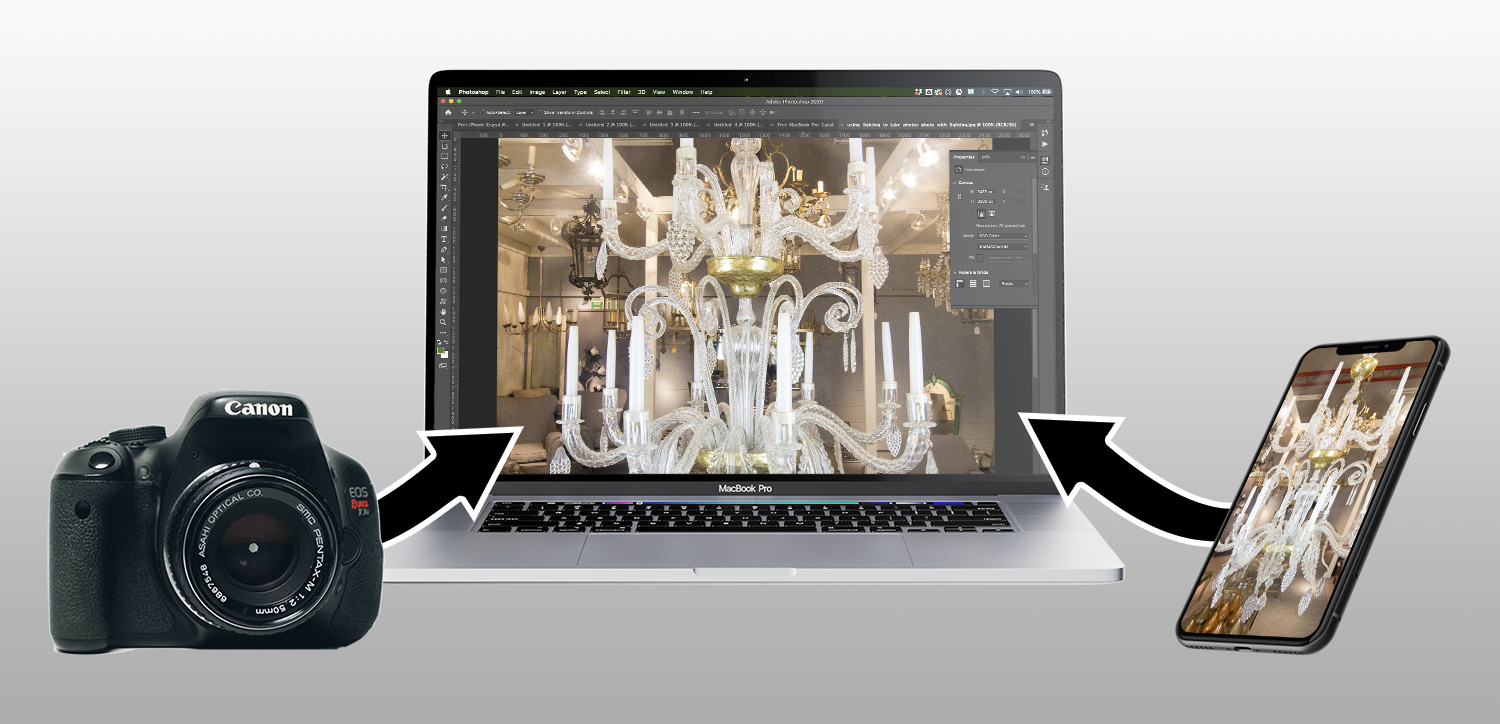
We are often asked what's the easiest and quickest fashion to copy photos from a photographic camera or phone and so that they tin be hands edited and and then uploaded to your website.
Whilst using a computer to upload items to your website isn't the simply way (you can always exercise it from your phone or tablet), it is still the preferred fashion for a variety of reasons we'll cover before long.
Accept a read through our commodity below showing you the quickest and easiest ways to get photos from your camera or telephone onto your calculator so you can put them on your website. This commodity is longer than most so we've seperated into sections below for your convenience.
Contents
Click to jump down to the relevant department
1) Why copy photos to a computer?
2) Managing your website on a computer VS a telephone or tablet
3) Cameras - getting photos onto your estimator
iv) iPhone - gettings photos onto your calculator
v) Android phones - getting photos onto your computer
6) Conclusion
i) Why copy photos to a computer?
There a number of reasons why you might want to re-create your photos from your photographic camera or phone to your estimator. Here are a few:
a) To edit the photos in photo editing software
b) To upload to your website easily
c) To free upwardly infinite on your phone or camera
d) For backup
e) So you have them handy to easily attach to an email to a customer
2) Managing your website on a computer VS a phone or tablet

If you take your own website (or are thinking of getting i) then a lot of websites these days (including our website designs) can be managed from a telephone, tablet, or estimator. And then why would you even want to use a computer to manage your website if you can just do it on your telephone?
Here's a few reasons:-
a) If you have photos on your telephone then copying them to your calculator first allows y'all to edit them in photo editing software before uploading to your website
b) When calculation items (stock) to your website you'll need to add a clarification. It's usually quicker and easier to type this on a proper keyboard than on a telephone. And so having pictures of your stock on your estimator set up to upload helps with this.
c) We recommend as best practice to add as much information as possible when adding items to your website. Information like a detailed description, dimensions and multiple pictures not only gives visitors the info they demand only it tin be beneficial for Google rankings too.
Then whilst you can but take photos on your phone and upload them straight to your website, in that location are of import benefits to copying them to your computer get-go and calculation items on your estimator.

3) Cameras - getting photos onto your computer
If you lot apply a standalone camera (eg not a camera that's on your phone) like a meaty camera, a DSLR or mirrorless camera so at that place'due south a few means to copy the photos you accept onto your computer.
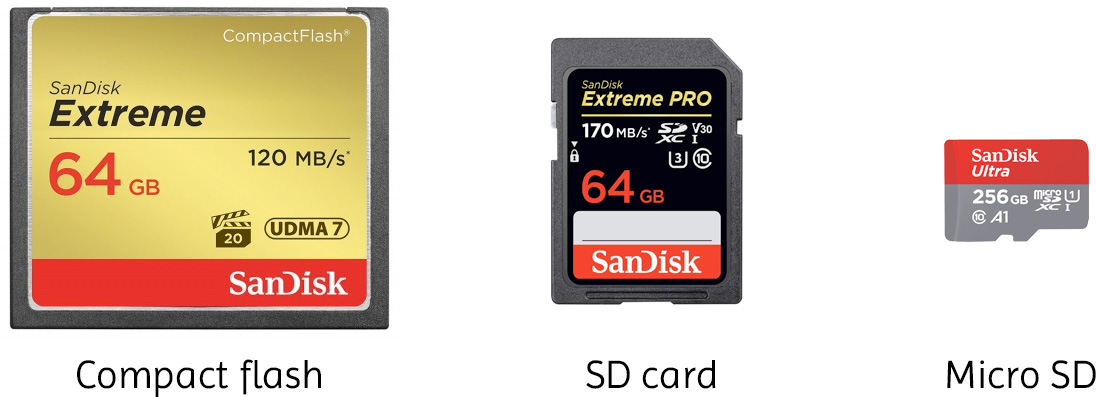
a) Method ane - Use a retentivity card reader

Our favourite and the easiest.
Most cameras take a removable retention menu which will either exist an SD carte du jour, Micro SD carte du jour, or Compact Flash carte du jour.
A lot of computers these days (including the MacBook above) have got a built in card reader so information technology's as simple equally putting the memory card in the slot and so it will prove upwards on your calculator.
If you don't have a memory carte du jour reader built into your estimator then they're inexpensive to buy. Have a wait on Amazon for "SD card reader" or "Compact flash card reader" depending on which blazon you lot have.
b) Method ii - Plug in via USB cablevision
Usually the 2d easiest, merely it can sometimes be a bit convoluted.
Simply take the USB cablevision which came with your camera and plug one end into the camera and the other into your figurer.
If you lot have a computer without a USB port and instead uses the more modern USB C, and then you lot tin buy a USB to USB C adapter quite cheaply from places like Amazon or ebay.
If yous utilise Microsoft Windows, and so commonly once you've plugged the camera in it will evidence upwardly as a bulldoze/folder in Windows Explorer (aka "My Computer").
If y'all use an Apple tree Mac, then information technology will show upward as a device in Finder on the left. Alternatively y'all can utilize Apple's Image Capture software.
Or, for more than detailed instructions, delight run across the following:-
Canon
- Canon - Saving Images to a Computer using Windows (Windows x)
- How To Transfer Pictures & Videos From Canon Camera to Apple MacBook
Nikon
- Copying photos from a Nikon camera using Windows
- Copy photos from a Nikon camera using an Apple tree Mac
Sony
- How to transfer pictures from the camera to a calculator using a standard USB connectedness
c) Method 3 - Wireless transfer
Some cameras now allow you to transfer photos wirelessly to your computer.
But, and this is a large BUT, in our experience we've always constitute that this method is hard to get prepare, unreliable, and time consuming. We're passionate believers that computers and the web should exist easy (it's the whole premise backside our visitor), and so whilst this is an selection we wouldn't necessarily recommend information technology simply considering it'southward non easy.
In terms of how to exercise a wireless transfer, this varies greatly depending on the type of camera yous're using. We recommend consulting the manual for your particular make and model of camera for farther data.
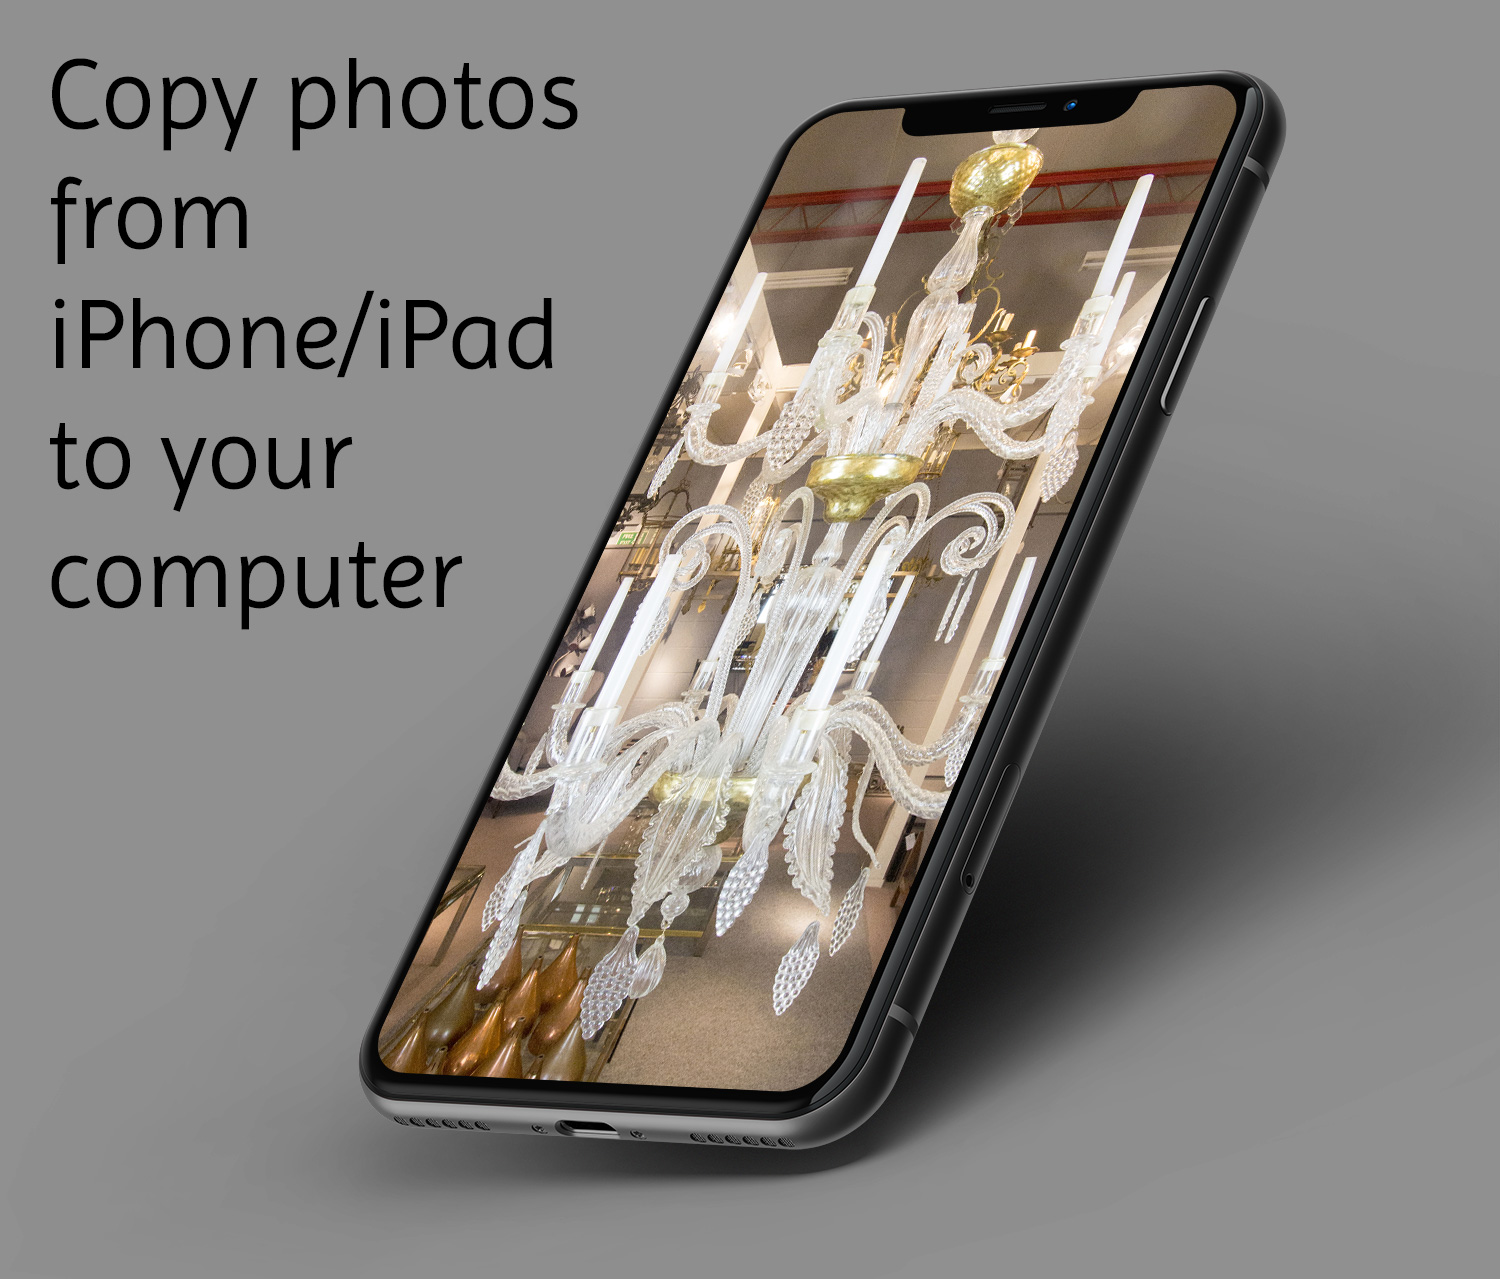
4) iPhone - gettings photos onto your computer
On a Windows computer
Windows 7 & 8
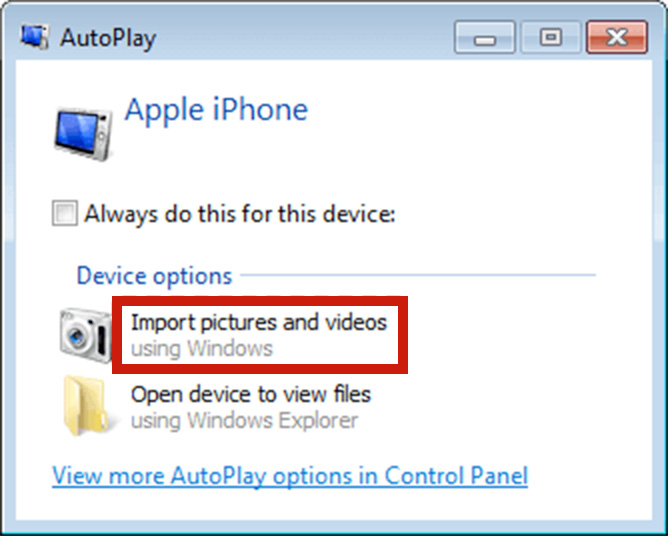
- Plug in your iPhone to your PC using a USB cable
- Wait upward to 30 seconds (do non printing or click anything on your computer), and you should run into the following "AutoPlay" window appear
- Click on "Import pictures and videos"
- Follow the on screen instructions where you can select which pictures y'all want to re-create and where you lot want to put them
Windows x & 11
- Plug your iPhone into your Windows PC with a USB cable
- Turn your iPhone on and unlock it (it needs to be unlocked otherwise photo transfer won't piece of work)
- On your Windows PC, click on the Beginning menu and select "Photos" to open the Photos application
- In the Photos app, select "Import" then choose "From a USB device".
- Follow the on screen instructions
- This should allow you lot to pick which photos you want to import and where you want to relieve them
On an Apple Mac estimator
Option 1) Using a USB cable
- Plug your iPhone (or iPad) into your Apple Mac using a USB cable
- Open the Photos app on your Mac
- The Photos app should show an import screen with all your photos on your iPhone. If it doesn't announced then click on your iPhone (or iPad)'southward device proper name on the sidebar of the Photos app (sidebar is on the left)
- You may be asked to unlock your iPhone (or iPad) then click a push button on your iPhone/iPad to Trust this computer. Click on the Trust this Computer button if asked
- Back on your Mac, choose the folder you want to import your photos to, then select which photos y'all want to import (or click "Import All New Photos" to import all new photos)
Further info from the Apple website here - https://support.apple.com/en-gb/HT201302

Pick ii) Using iCloud
This is probably ane of the easiest methods equally it doesn't require yous to plug whatever cables in and you lot can exercise it with your feet up on the sofa; we similar easy!
The caveat is that if you have more than than 5GB of photos and videos (which you near likely do as 5GB isn't much these days for photos) you'll need to upgrade your program with Apple. Personally we observe it good value for money in the respect that if your photos are backed up to the deject and so even if your phone gets cleaved, lost or stolen then you'll have your photos. At the fourth dimension of writing, plans range from £0.79 to £6.99 per month ($0.99 to $ix.99 USD or €0.99 to €9.99 euros). You lot can notice more info on Apple's website here.
Step ane - Enable iCloud Photo Library on your iPhone (or iPad)
- Go to Settings on your iPhone/iPad
- Tap on your proper name at the top
- Go to iCloud
- Underneath the iCloud storage indicator, tap on "Photos"
- Switch on iCloud Photos
Step two - Enable information technology on your Mac
- Open the Photos app on your Mac
- When prompted if you want to apply iCloud Photos, cull Yeah
Note
- You lot'll need to make certain that both your iPhone (or iPad) and your Apple Mac are signed in using the same Apple account (Apple ID)
- If you've not used iCloud Photo Library before and accept merely enabled it and have quite a lot of photos, then it could accept quite a few hours for photos to upload from your iPhone/iPad to the cloud. Make sure you have WiFi turned on!
Other methods & info
Y'all may besides find the post-obit resources handy:-
- https://macpaw.com/how-to/copy-photos-iphone-mac
- https://www.imobie.com/support/how-to-transfer-photos-from-iphone-to-mac.htm
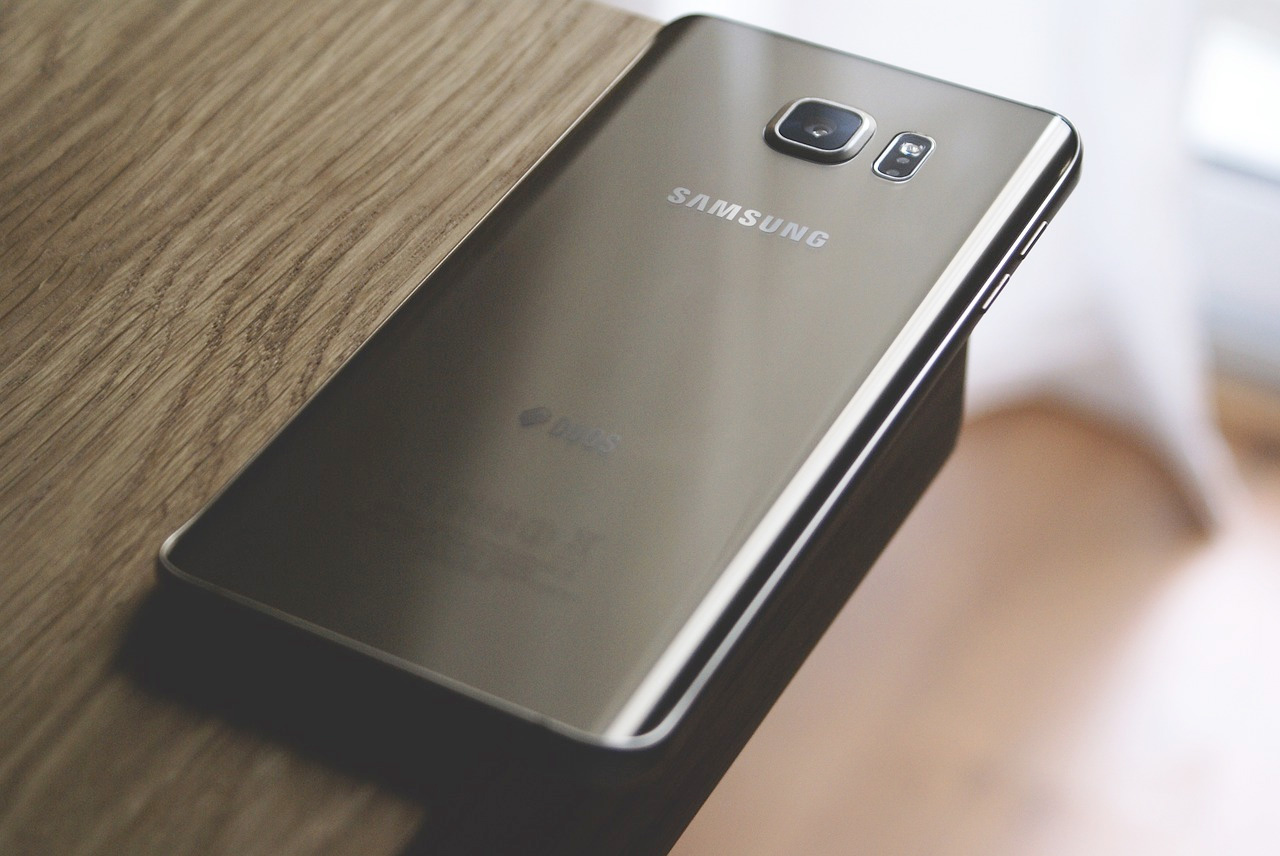
v) Android phones - getting photos onto your estimator
Android phones encompass pretty much whatever non Apple telephone; eg Samsung, Huawei, Google, Sony, OnePlus, Moto etc. Android refers to the software these phones run (aka the "operating system"). The Android operating system is actually made by Google which is why a lot of Google'due south services (such as Google photos) integrate pretty seemlessly with Android phones in the same mode that Apple iPhoto integrates seemlessly with the iPhone.
![]()
Option 1)
Copying photos to your estimator using Google Photos
This is personally our favourite method.
We usually find it amend value for money than Apple iPhoto as prices range from costless (for 15gb) to £vii.99 / $9.99 per calendar month. You can find pricing hither:-
https://i.google.com/about/plans
If you have a Google account fix on your Android phone and Google Photos enabled then each time yous take a photo so your photo volition exist saved on the cloud using Google Photos. This is great for a couple of reasons. First; it means your photos are backed upwards to the deject if your telephone is lost, cleaved or stolen. Second, it makes it easier to copy the photos to your computer!
- Enabling Google Photos on your phone
- On your Android telephone/tablet, open the Google Photos app (may just be chosen "Photos")
- If prompted, sign into your Google Business relationship
- On the meridian right, tap your account profile photo (or initial)
- Select "Photos settings"
- Then tap "Support & sync"
- Enable backup to Google photos
- Photos will then be saved to Google photos on the cloud
- Downloading from Google Photos to your figurer
- It's really unproblematic!
- Just open your web browser (eg Chrome, Firefox or Edge) and visit https://photos.google.com/
- From in that location y'all should see all your photos and you tin can click to download them
- (note if you've just just enabled Google Photos on your phone/tablet it may have a few hours to sync your existing photos to the cloud)

Option 2)
Copying photos to your computer using a USB cablevision
- On a Windows PC
- Unlock your phone
- Plug your phone into your calculator using a USB cable
- On your phone, when prompted, tap the "Charging this device via USB" notification then under "Use USB for" select "File Transfer"
- A file transfer window should open on your computer. Using this you can drag and drib files
- On an Apple Mac
- The standard method via a USB cable is using the program Android File Transfer on the Mac but in our feel we've found it pretty striking and miss.
- The standard method via a USB cable is using the program Android File Transfer on the Mac but in our feel we've found it pretty striking and miss.
Further information
- https://support.google.com/android/answer/9064445?hl=en-GB
- https://back up.google.com/photos/reply/6193313?hl=en-GB
- https://www.youtube.com/watch?v=cNeojHX4VQk
vi) Determination
This article covers the main ways of copying photos from your camera, phone or tablet to your calculator only information technology is not a consummate list. There are many other methods all the same we take focused on what is Like shooting fish in a barrel . Life is besides brusque to spend your life slaving away in forepart of a reckoner; after all computers were invented to make our lives easier and not the other way around.
Everything we exercise every bit a company is focused on making things easy. That'southward why as part of our website blueprint setup procedure we'll evidence yous how to hands add items to your website and how to easily upload your pictures. Regardless of whether you're a technophone or techie genius, we'll aid you get online quickly and easily.
* Pricing is right at time of writing
Source: https://www.ph9.com/en-GB/how-to-easily-get-photos-onto-your-computer-from-your-camera-or-phone/blog_10246
0 Response to "How to Manually Upload Photos on Memory Card Using Card Reader to Google Photos"
Enviar um comentário